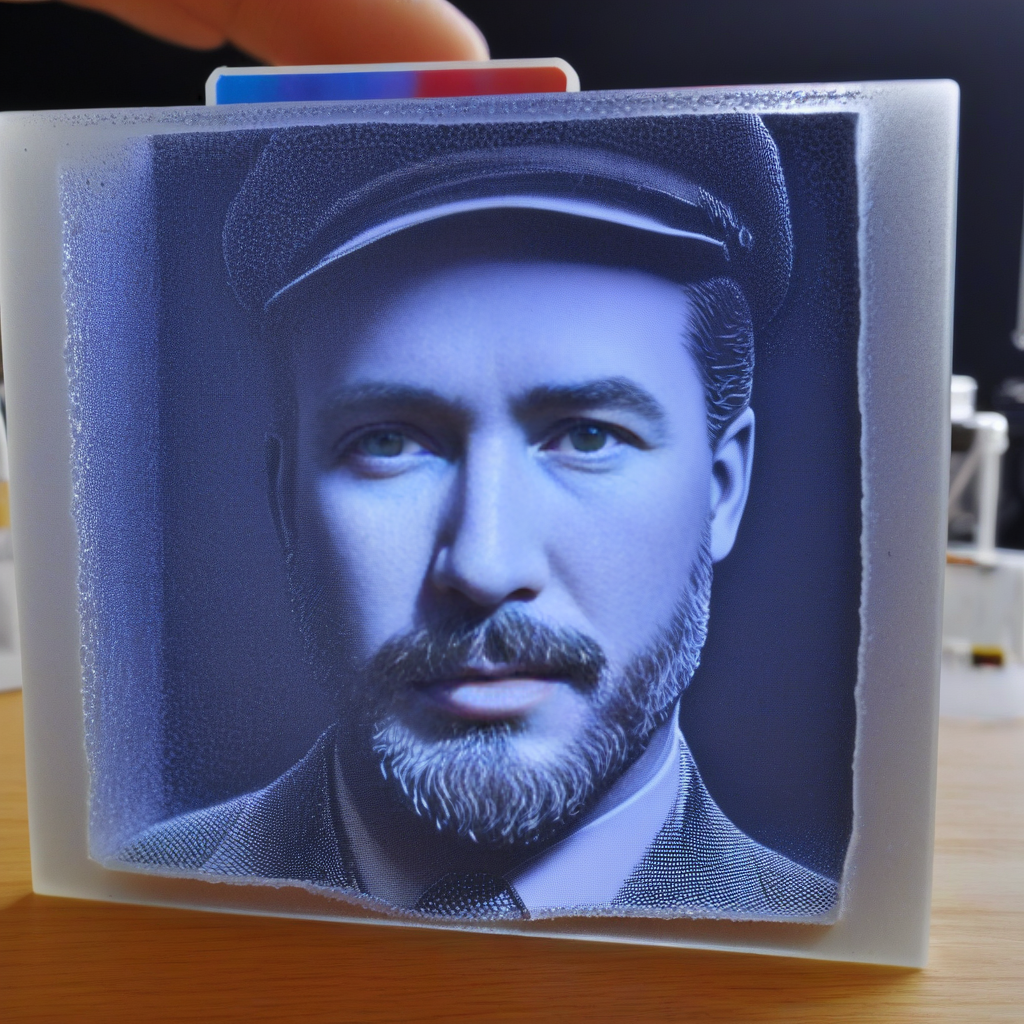
Imagine holding a delicate, translucent sheet of art that transforms into a stunning black and white photograph when illuminated from behind. This enchanting phenomenon is known as a lithophane, and with your 3D printer, you can create one yourself! In this article, you’ll learn how to harness the creative potential of 3D printing to produce a mesmerizing lithophane from any digital photo. Get ready to unlock the secrets of this fascinating process and unleash your inner artist.

Key Takeaways
To successfully 3D print a lithophane, remember these necessary tips:
- Choose the right software: Select a dedicated lithophane app like It’s Litho, Lithophane Maker, or 3D Rocks for better results and more features. Avoid using Cura, as it has limitations.
- Optimize your print settings: Ensure your 3D printer is well-tuned, print vertically, use a raft, and print slowly (around 40mms) to minimize wiggly jiggle. Align the print on the Y axis, especially if you have a “bed slinger” printer.
- Use the right print settings: Set your walls/shells/lines to 99, with no infill, to achieve a solid lithophane. Print at high quality with a fine layer line (e.g.,.12 layer height with a.4mm nozzle) to squeeze out maximum detail.
Why Do We Call Them Lithophanes?
For a term that sounds so exotic, “3D printing a lithophane” has a surprisingly straightforward origin.
The Origins of 3D Printing a Lithophane
An amalgamation of Greek words, “litho” meaning “stone” and “phainen” meaning “to appear”, the term “lithophane” was coined to describe these embossed photographs.
The Science Behind 3D Printing Lithophanes
An intriguing combination of light and shadow, lithophanes rely on the principles of translucency to reveal their hidden images.
The science behind lithophanes lies in the way they manipulate light to create an illusion of depth. By carefully calibrating the thickness and density of the material, a lithophane can be designed to allow more or less light to pass through, creating a range of tones and shades that ultimately form the image. As you hold a light source behind the lithophane, the carefully crafted variations in thickness and density come together to reveal a stunning, high-contrast image.
The Modern Lithophane is 3D Printed
There’s no denying that 3D printing a lithophane has revolutionized the way we create lithophanes. Gone are the days of hand-carving porcelain sheets; now, you can create stunning lithophanes with just a few grams of PLA and a well-tuned 3D printer.
The Advantages of 3D Printing Lithophanes
On top of being faster and more cost-effective, 3D printing lithophanes offers unparalleled precision and customization options. You can easily edit and enhance your images, add borders, and experiment with different materials and colors.
How 3D Printing Revolutionizes Lithophane Creation
With the advent of 3D printing, lithophane creation has become more accessible and democratic. You no longer need to be a skilled artisan or have access to specialized equipment; all you need is a 3D printer and a digital image.
To take full advantage of 3D printing lithophanes, you’ll want to explore the various software options available. From Cura to Lithophane Maker, each program offers unique features and benefits. By mastering these tools, you’ll be able to unlock the full creative potential of 3D printing lithophanes and produce stunning, high-quality results.
Free Lithophane Creators for Your 3D Printer
Keep in mind that you don’t have to break the bank to create stunning 3D printing lithophanes. There are several free tools available that can help you design and print your own lithophanes.
Online Tools for Lithophane Design
Craftsmen like you can rely on online tools to create intricate lithophane designs. These web-based applications are easy to use and require minimal expertise, making them perfect for beginners.
Software Options for Lithophane Creation
An array of software options is available to help you create lithophanes. From user-friendly interfaces to advanced features, these programs cater to different skill levels and preferences.
Lithophane creation software offers a range of benefits, including the ability to edit images, add borders, and customize settings. By choosing the right software, you can ensure that your lithophane turns out exactly as you envision it.
Tips for Choosing the Right Tool
Tips for selecting the perfect 3D print for a lithophane creator include considering your skill level, the type of printer you own, and the desired level of customization. Ask yourself:
- Do you prefer a user-friendly interface or are you comfortable with advanced features?
- Does your printer support multi-color printing or do you need a program that can accommodate this?
- How much time are you willing to invest in learning a new tool?
The right tool can make all the difference in the quality of your lithophane, so take your time to explore the options and choose the one that best fits your needs.
It’s imperative to remember that each tool has its strengths and weaknesses. By understanding your requirements and the capabilities of each tool, you can create stunning lithophanes that showcase your creativity and skill.
- Consider the level of customization you need.
- Think about the type of printer you own and its capabilities.
- Don’t be afraid to experiment with different tools until you find the one that works best for you.
The right tool can help you unlock the full potential of your 3D printer and create breathtaking lithophanes that will leave everyone in awe.
Designing Your Lithophane
Many factors contribute to a successful lithophane print, and designing your image is a crucial step in the process. A well-designed lithophane can make all the difference in the final result, so let’s look into the principles of good design and considerations for image selection.
Principles of Good Design for Lithophanes
Alike many art forms, designing a lithophane requires attention to detail and a understanding of how the final product will be perceived. Good design principles for lithophanes involve creating high-contrast images with clear subject matter, avoiding clutter and intricate details, and optimizing the image for 3D printing.
Considerations for Image Selection
Designing a lithophane starts with selecting the right image. Look for images with high contrast, clear subject matter, and minimal details. Avoid images with fine textures, intricate patterns, or low-contrast areas, as these may not translate well to a 3D printed lithophane.
Considerations for image selection go beyond just the visual appeal of the image. Think about the story you want to tell or the mood you want to evoke with your lithophane. Choose an image that resonates with you, and that will make the final product more meaningful.
How to Prepare Your Image for 3D Printing
Your image is ready, now it’s time to prepare it for 3D printing. This involves converting your image into an STL file using a lithophane app or software. Make sure to adjust the image settings according to the app’s recommendations, and don’t hesitate to experiment with different settings to achieve the desired result.
For instance, you may need to adjust the brightness, contrast, or saturation of your image to optimize it for 3D printing. Some lithophane apps also offer additional features, such as border options or color lithophane capabilities, so be sure to explore these options to enhance your design.
Preparing Your 3D Printer
All set to create your stunning lithophane? Before you start printing, make sure your 3D printer is ready for the task.
Setting Up Your 3D Printer for Lithophane Printing
For optimal results, ensure your 3D printer is well-tuned and calibrated. Loose belts and sloppy wheels can ruin your print, so take the time to tighten everything up first.
Choosing the Right Filament for Your Lithophane
Any filament can be used to print a lithophane, but some work better than others. You’ll want a filament that produces a smooth, even finish.
For instance, PLA is a popular choice for lithophanes because it’s easy to work with and produces a high-quality finish. Other filaments, like ABS or PETG, can also be used, but may require additional settings adjustments.
Calibrating Your Printer for Optimal Results
Your printer’s calibration is crucial for achieving the best possible results. Make sure your printer’s axes are aligned, and the bed is level.
Optimal calibration ensures that your printer moves smoothly and accurately, resulting in a high-quality lithophane with precise details and minimal layer shifting.
Tricks to a Perfect Lithophane
Not every lithophane turns out perfectly, but with these tricks, you’ll be well on your way to creating stunning 3D printed lithophanes.
Optimizing Your Print Settings
Printing with precision is key to a perfect lithophane. Print slow, around 40mms, to minimize wiggly jiggle and ensure smooth layer transitions. Align your print on the Y axis, especially if you’re using a “bed slinger” printer, to keep the print steady.
Post-Printing Techniques for Enhancing Your Lithophane
Any post-printing techniques can elevate your lithophane from good to great. Try applying a coat of varnish or resin to protect the surface and enhance the image.
PostPrinting techniques can make a significant difference in the final appearance of your lithophane. Experiment with different finishes, such as matte or glossy, to find the one that suits your image best.
Troubleshooting Common Issues
Optimizing your print settings and post-printing techniques can help minimize common issues, but sometimes problems still arise. Check for loose belts and sloppy wheels, and ensure your printer is well-tuned before printing.
It’s crucial to identify and address any issues early on to avoid wasting time and materials. If you’re experiencing problems with your lithophane, revisit your print settings and post-printing techniques to troubleshoot the issue.
Conclusion
Conclusively, with the right tools and techniques, you can create stunning lithophanes that will amaze your friends and family. By choosing the best lithophane creator app for your needs, tuning your 3D printer, and following the expert tips outlined in this guide, you’ll be well on your way to printing perfect lithophanes. So, don’t be afraid to experiment, try new things, and push the boundaries of what’s possible with 3D printing. With patience, practice, and a passion for creativity, you’ll unlock the magic of lithophanes and bring new life to your favorite photographs.
Read our Latest Blogs & Product reviews on 3D Printing
FAQ
Q: What is a lithophane and how does it work?
A: A lithophane is an embossed photograph that appears as a magical black and white image when held against a light source. The term “lithophane” comes from the Greek words “litho” meaning “stone” and “phainen” meaning “to appear”. Originally hand-carved from porcelain sheets, lithophanes were invented in 1827, shortly after photography. Today, 3D printing technology allows us to create lithophanes with a few grams of PLA and a special lithophane app that converts digital photos into STL files.
Q: What are the best apps to use for creating a lithophane?
A: There are several apps you can use to create a lithophane, including Cura, 3D Rocks, Lithophane Maker, It’s Litho, and LuBan. While Cura can make a lithophane, it’s not recommended due to limitations. 3D Rocks is an older program that’s harder to use and slower. Lithophane Maker and It’s Litho are better options, with It’s Litho being the most user-friendly and feature-rich. LuBan is a paid app that offers additional features, but may not be necessary for basic lithophane creation.
Q: What are the key settings and tips for printing a perfect lithophane?
A: To print a perfect lithophane, make sure to tune your printer first, then print vertically to improve quality. Use a raft to help with thin bases, and print slowly (around 40mms) to minimize wiggling. Align the print on the Y axis, especially if you have a “bed slinger” printer. Use no infill and set your walls/shells/lines to 99 for a solid print. Finally, print at high quality with a fine layer line (e.g.,.12 layer height with a.4mm nozzle) to squeeze out as much detail as possible.

