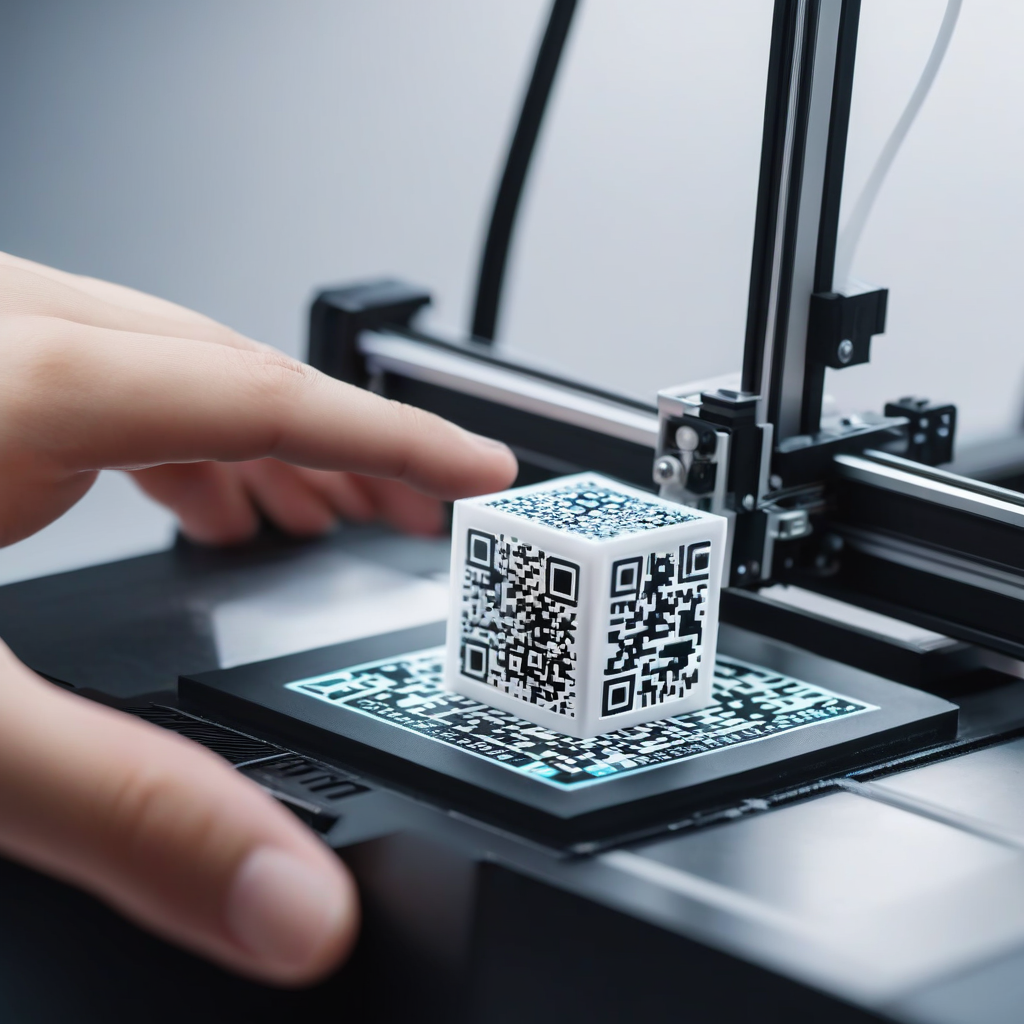
Most people are familiar with QR codes and their use in various applications. However, have you ever considered creating your own 3D printed QR codes? In this article, we will walk you through the step-by-step process of designing, preparing, printing, and finishing your personalized QR codes using 3D printing technology. From customizing the design to testing the functionality, this guide will show you how to bring your unique QR code creations to life in a tangible, three-dimensional form.
Key Takeaways
- Customization: Customizing the QR code design to suit your desired shape, size, and content is important for personalization and branding purposes.
- Preparation: Properly importing, adjusting, and optimizing the QR code model in 3D modeling software is crucial for successful 3D printing.
- Testing and Verification: Testing the functionality of the 3D printed QR code by scanning it with a QR code reader ensures that it leads to the desired content or website.
Understanding QR Codes

What are QR Codes?
While QR codes have been around for some time, they are becoming increasingly popular due to their convenience and versatility. QR codes are two-dimensional barcodes that can store a variety of information, such as URLs, text, and contact information. They can be scanned using a smartphone or QR code reader to access the embedded data.
Benefits of 3D Printed QR Codes
The 3D printed QR codes offer a unique and visually appealing way to share information and engage with your audience. They can be customized to match your brand’s aesthetic or serve as a creative design element. Additionally, 3D printing allows for the production of durable and long-lasting QR codes that can withstand various environments.
While QR codes themselves are a practical tool for sharing information, 3D printed QR codes take this concept to the next level by adding a dimension of creativity and customization. By incorporating 3D printing technology, users can elevate the visual impact of their QR codes and make them more memorable and engaging for their audience.
Potential Applications for Personalization, Branding, and Creative Projects
Codes such as 3D printed QR codes can be used in a variety of ways to personalize your brand, promote your business, or enhance your creative projects. For businesses, they can be incorporated into marketing materials, product packaging, or business cards to provide an interactive and visually striking way to connect with customers. In creative projects, they can be used as unique design elements or interactive components to engage the audience.
Codes like 3D printed QR codes offer endless possibilities for personalization, branding, and creative projects. By leveraging the capabilities of 3D printing technology, individuals and businesses alike can create custom QR codes that not only convey information but also resonate with their target audience on a visual and tactile level.
Designing Your QR Code
How to Generate a QR Code Using an Online Generator
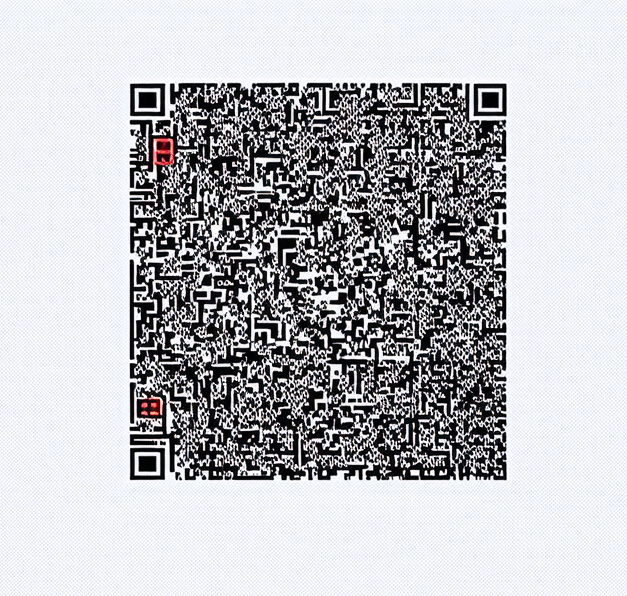
Even if you are new to the concept of 3D printed QR codes, you can easily generate a QR code for your personalized design using an online QR code generator. Simply input the desired content, such as a website link or message, and customize the size and shape options to fit your project.
Tips for Customizing QR Code Design for Shape, Size, and Content
Using custom sizes, shapes, and content can make your 3D printed QR code stand out and suit your project needs perfectly. Consider factors such as the placement of the QR code, the medium it will be printed on, and the intended audience when designing for optimal impact. Perceiving the potential uses and limitations of QR codes can help you create a design that is both visually appealing and functional.
Factors to Consider for Effective QR Code Design
For instance, the size of the QR code is crucial for readability and scanning accuracy. Ensure that the QR code is large enough to be easily captured by a smartphone camera but not too large that it disrupts the overall design. Any distortions or errors in the QR code can hinder its functionality, so attention to detail is key.
Preparing Your QR Code Model
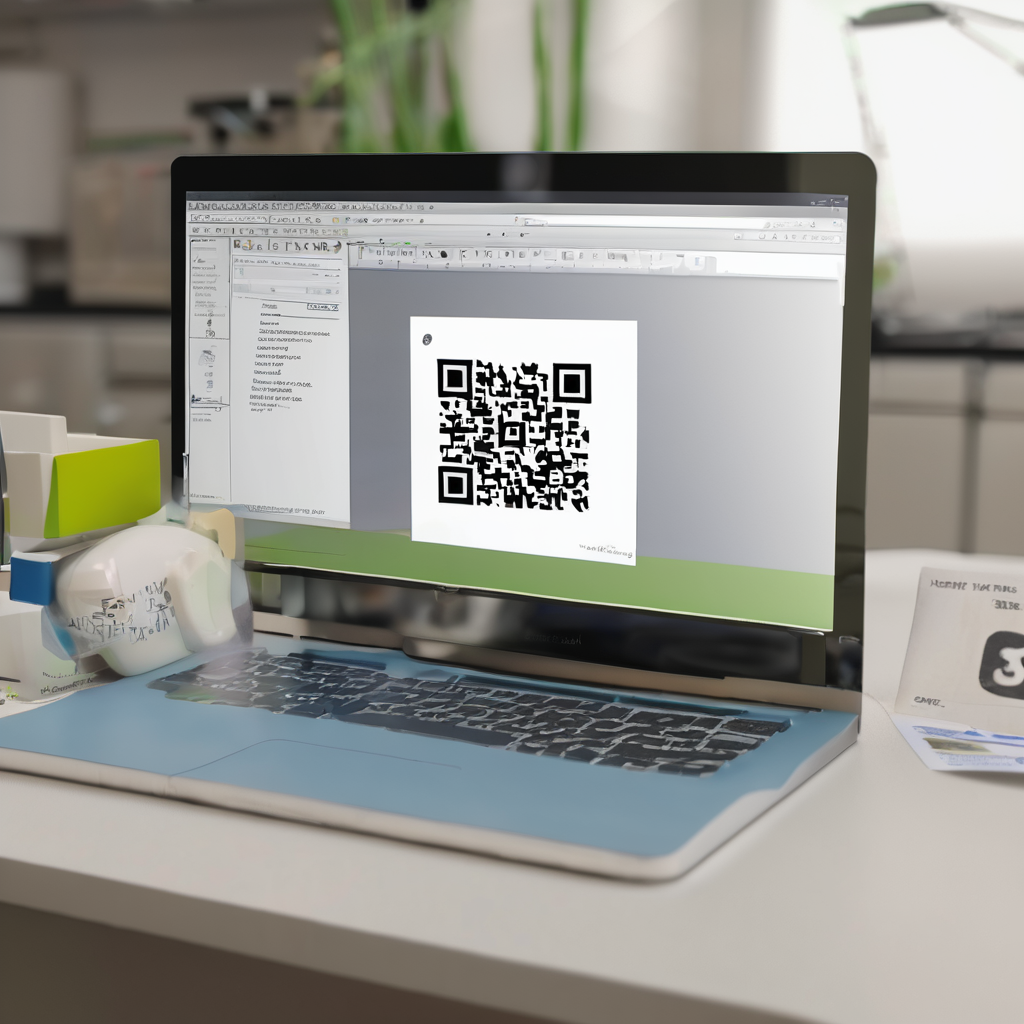
Importing the QR Code Design into 3D Modeling Software
Not sure how to get started with 3D printing your own QR codes? The first step is to import your customized QR code design into 3D modeling software. This will allow you to manipulate the design and prepare it for printing.
Adjusting Size and Thickness for Optimal Printing
To ensure a successful 3D printing process, it is crucial to adjust the size and thickness of your QR code model. This step helps in achieving the desired outcome and optimizing the model for printing without any issues.
Now, modeling your QR code design requires precision and attention to detail. Make sure to adjust the size to fit the intended dimensions for your project and ensure that the thickness of the model is adequate for a successful 3D printing process. These adjustments will contribute to the overall quality of the final printed QR code.
Optimizing the Model for 3D Printing
Your QR code model needs to be optimized for 3D printing to ensure a smooth and accurate printing process. This step involves fine-tuning the design, making necessary adjustments, and confirming that the model is suitable for printing on your chosen 3D printer.
Plus, optimizing your model for 3D printing includes checking for any potential issues, such as overhangs or intricate details that may present challenges during printing. By ensuring that your model is optimized, you can enhance the overall quality and success of your 3D printed QR code project.
Setting Up Your 3D Printer

Preparing the Print Bed for QR Code Printing
If you’re planning to 3D print your own QR code, it’s crucial to ensure that the print bed is properly prepared.
Loading the Filament and Configuring Print Settings
If you’ve finalized the design of your QR code and are ready to start printing, it’s time to load the filament into your 3D printer and configure the print settings for optimal results.
Preparing the filament involves inserting it into the printer’s designated slot and making sure it is securely in place. As for the print settings, adjusting parameters such as layer height, print speed, and infill percentage can greatly impact the quality of the final print. By configuring these settings correctly, you can achieve a smooth and accurate 3D printed QR code.
Tips for Achieving Optimal Print Results
- Start by calibrating your printer to ensure precise printing.
- Opt for a higher resolution setting to capture fine details in the QR code.
- Use the appropriate filament type and color for contrast and visibility.
Settings such as layer height, print speed, and infill percentage can greatly influence the quality of the 3D printed QR code. By carefully adjusting these parameters, you can achieve a clean and legible result.
Printing Your QR Code
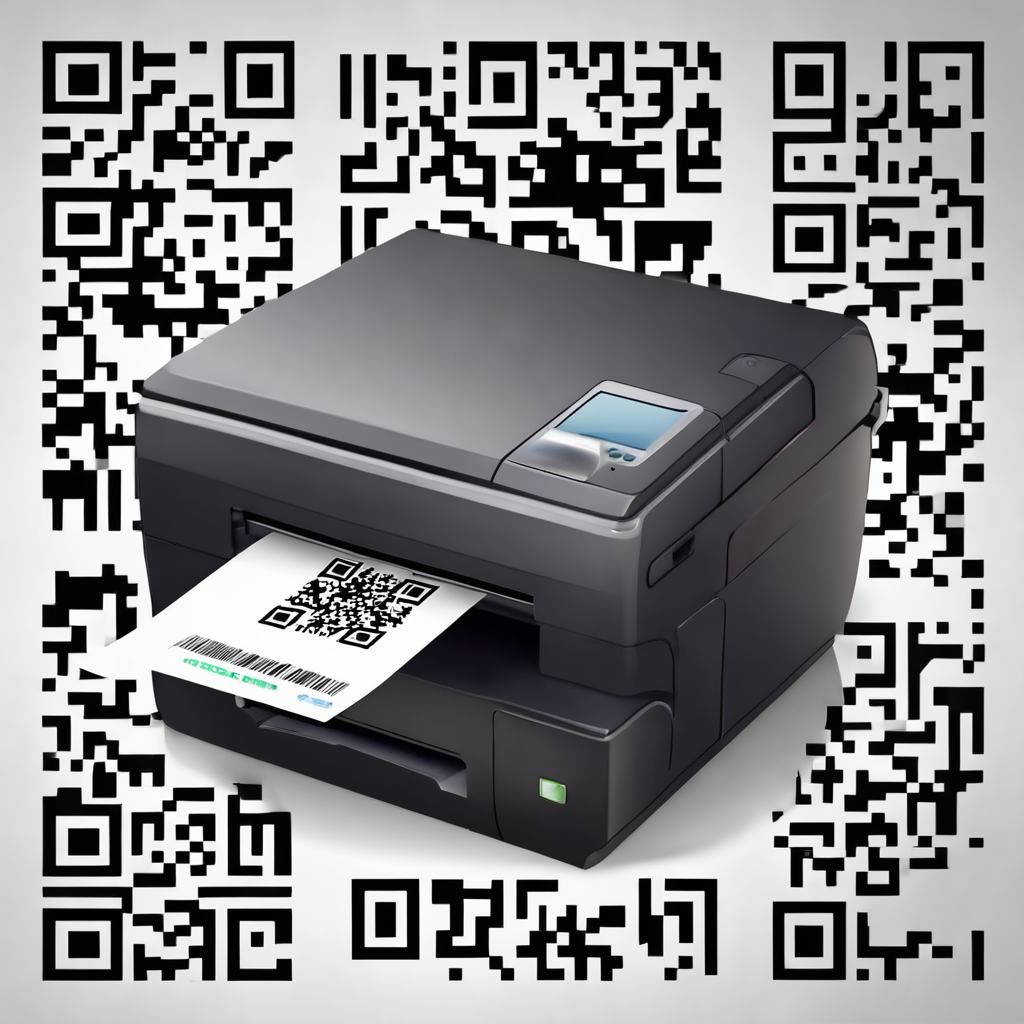
Initiating the Print Job and Monitoring Progress
Now that you have set up your 3D printer, it’s time to initiate the print job. Start the process and keep a close eye on the progress to ensure that the QR code is being printed accurately and efficiently.
Ensuring a Successful Print Outcome
To ensure a successful print outcome, make sure that the printer settings are optimized for the specific requirements of the QR code design. This includes adjusting the print speed, layer height, and temperature to achieve a high-quality result.
When printing a QR code, it is vital to maintain proper layer adhesion and avoid any warping that could distort the code. Ensuring the printer’s nozzle is clean and the bed is properly leveled can also contribute to a successful print outcome.
Common Issues to Watch Out for During Printing
During the printing process, common issues such as layer shifting, stringing, or adhesion problems may arise. Monitoring the print closely and addressing these issues promptly can help prevent any major defects in the final QR code model.
Ensuring that the printer is properly calibrated and the filament is of high quality can significantly reduce the likelihood of encountering common printing issues. By being attentive to the printing process, you can anticipate and troubleshoot any potential problems that may occur.
Post-Processing and Finishing
Removing Support Structures and Sanding the Surface
Once again, after successfully 3D printing your QR code, the next step is to remove any support structures and smooth the surface for a polished finish. PostProcessing by carefully trimming off any excess material and using sandpaper to smooth out any rough edges or imperfections.
Smoothing and Applying Finishes for Enhanced Visibility and Aesthetics
Finishing touches on your 3D printed QR code can greatly enhance its visibility and aesthetics. Finishing by smoothing out the surface with finer sandpaper, or using techniques like painting or applying a clear coat for a professional look. Finishing also plays a crucial role in ensuring that your QR code is easily scannable and stands out visually.
Another important step in post-processing and finishing your 3D printed QR code is smoothing out any imperfections and applying finishes to enhance its visibility and aesthetics. This can include sanding the surface with finer grit sandpaper to achieve a smooth finish and applying paint or clear coat to make the QR code visually appealing.
Tips for Achieving a Professional Finish
- Ensure to remove all support structures carefully to avoid damaging the QR code.
- Use sandpaper of varying grits to achieve a smooth surface.
- Apply paint or clear coat for enhanced visibility.
Even with the advancements in 3D printing technology, achieving a professional finish on your 3D printed QR code requires attention to detail. Finishing touches can make your QR code stand out visually and ensure its functionality. Thou, following these tips will help you achieve a polished and professional look for your 3D printed QR code.
Testing and Scanning Your QR Code
Verifying QR Code Functionality Using a QR Code Reader or Smartphone App
For ensuring your 3D printed QR code is functioning correctly, use a QR code reader or smartphone app to scan the code. This will allow you to quickly verify that the code leads to the intended content or website.
Troubleshooting Common Issues with QR Code Scanning
An important aspect of testing your 3D printed QR code is troubleshooting any common issues that may arise during scanning. It’s vital to pay attention to factors such as lighting conditions, the size of the QR code, and the quality of the print to ensure successful scanning.
It is important to check if the QR code is printed clearly without any smudges or distortions that could impede scanning. Additionally, ensure that the area surrounding the QR code is free from any visual clutter that may interfere with the scanning process. Testing the QR code in different lighting conditions and angles can also help identify and resolve any scanning issues.
Conclusion
From above, it is clear that 3D printed QR codes offer a unique and personalized way to incorporate technology into creative projects. By following the step-by-step process of designing, printing, and finishing a QR code, individuals can showcase their brand, personalize their belongings, or add a unique touch to their artistic endeavors. With the ability to customize the design and optimize the printing process, anyone can create their own functional and visually appealing QR codes. So, why not give it a try and explore the endless possibilities of 3D printed QR codes?
FAQ
Q: What is the concept of 3D printed QR codes?
A: 3D printed QR codes involve using a 3D printer to create QR codes in three-dimensional form. This allows for customization of shape, size, and design, making it ideal for personalization, branding, and creative projects.
Q: How can I create a QR code design for 3D printing?
A: You can create a QR code design for 3D printing by using an online QR code generator. Customize the QR code to suit your desired specifications in terms of shape, size, and content. Ensure that the design is clear and easily scannable.
Q: What is the process for 3D printing a QR code?
A: The process for 3D printing a QR code involves importing the design into 3D modeling software, preparing it for printing by adjusting size and thickness, setting up the 3D printer with the correct settings, initiating the print job, monitoring progress, post-processing the printed QR code, and testing its functionality by scanning it with a QR code reader or smartphone app.